

Seeing a beloved older or heritage home damaged by a major disaster is a deeply emotional experience. Whether it is a Victorian manor battered by hurricane-force winds, a Craftsman bungalow inundated by floodwaters, or a Colonial farmhouse scorched by a severe blaze, the devastation can feel overwhelming. These structures are more than just wood, brick, and glass; they are tangible connections to the past, filled with irreplaceable craftsmanship, custom millwork, and decades—often centuries—of history.
However, approaching the recovery of a historic property requires an entirely different mindset and methodology than repairing modern construction. Older homes were built using techniques and materials that are largely obsolete today. Features like balloon framing, true lath and plaster walls, old-growth timber, and gravity-fed antique heating systems require specialized knowledge to repair safely. Furthermore, these aging structures often contain hazardous materials such as lead paint and asbestos, which complicate the cleanup process.
Restoring an older home is not a sprint; it is a marathon that demands patience, precision, and a deep respect for the original architecture. Success depends heavily on immediate, careful triage combined with highly specialized rehabilitation techniques that prioritize saving original materials over outright replacement. This guide will serve as a comprehensive roadmap for navigating this complex journey. We will walk you through the crucial first hours of safety and assessment, the meticulous processes of structural stabilization and moisture management, the delicate eradication of smoke and soot, and finally, the essential steps to ensure the long-term preservation of your historic property.
Executing Immediate Triage and Securing the Property
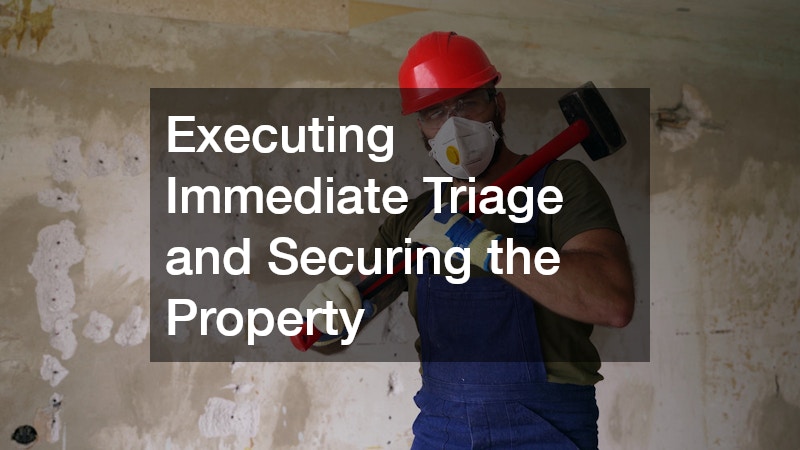
The first 24 to 48 hours following a catastrophic event are critical. The actions you take during this narrow window will dictate how much of your vintage property can ultimately be salvaged. However, the urge to rush in and start cleaning must be firmly suppressed until the environment is proven safe. Older homes present unique post-disaster hazards, from outdated electrical panels to compromised masonry foundations.
Prioritize Safety First
Before you even step foot onto the property, you must ensure that the structure will not collapse and that the utilities are safely neutralized.
-
Assess Structural Integrity: Look for leaning exterior walls, sagging rooflines, or shifted foundation stones. If the home has shifted off its foundation, do not enter.
-
Neutralize Utilities: Safely shut off the main utility lines. In vintage properties, this can be complicated. Older gas meters might require special wrenches, and properties with knob-and-tube wiring or outdated fuse boxes pose severe electrocution risks if water is present. Have the utility company or a licensed professional cut the power at the pole if you cannot safely reach the main breaker.
-
Wear Proper Protective Gear: Always wear heavy-duty boots, N95 respirators, thick gloves, and hard hats. Plaster ceilings are incredibly heavy when wet and can fall without warning.
Document Everything for Insurance
Before a single piece of debris is moved or a tarp is laid down, you must create an exhaustive record of the devastation. Insurance claims for heritage properties are notoriously complex because standard replacement values rarely cover the cost of custom, era-specific craftsmanship.
-
Timestamped Evidence: Take clear, high-resolution, timestamped photos and videos of every room, every angle, and every damaged item.
-
Catalog Custom Fixtures: Pay special attention to documenting antique chandeliers, original stained glass, custom wainscoting, and hand-carved stair balusters. You will need this evidence to argue for the replacement value of historical materials, rather than modern builder-grade substitutes.
Stop Further Devastation
Once the property is safe to enter and documented, your next priority is stopping the bleeding. You must seal the building envelope to prevent secondary damage from rain, wind, or looters.
-
Board Up with Care: When boarding up broken windows, avoid driving nails or screws directly into original mahogany or oak window frames. Instead, use tension-based boarding methods or attach plywood to the exterior brick or siding using masonry anchors that can be patched later.
-
Tarp the Roof: Use heavy-duty tarps to cover any structural breeches. Ensure the tarps extend well past the damaged area to prevent wind-driven rain from creeping underneath the edges.
-
Remove Standing Water Quickly: Leaving water to sit on antique floors will cause irreversible swelling. This is the stage where hiring water mitigation contractors is absolutely essential, as they can pump out flooded basements rapidly before hydrostatic pressure causes old stone or brick foundation walls to crack and buckle.
-
Secure the Perimeter: Early intervention from fire damage services can help professionally board up and secure compromised structures safely, keeping out trespassers and protecting the fragile interior from further environmental exposure.
Preserving Original Architecture and Masonry

One of the greatest tragedies during post-disaster cleanup is the accidental destruction of irreplaceable architectural details. In the rush to gut a damaged house, well-meaning crews often throw away salvageable trim, doors, and hardware. Preserving the historical integrity of the home requires a methodical, almost archaeological approach to demolition and cleanup.
Create a Salvage and Catalog System
You cannot simply toss debris into a dumpster. Every piece of the house must be evaluated for its salvage potential.
-
Careful Removal: Teach your crew how to carefully pry off baseboards, crown molding, and window casings. Use wide putty knives and flat pry bars to distribute pressure, preventing fragile, century-old wood from snapping.
-
The Tagging System: Implement a rigorous tagging system. As architectural details like corbels, trim, original doors, and stained glass are removed, label the back of each piece with a permanent marker or masking tape indicating exactly which room and which wall it came from.
-
Proper Storage: Store salvaged wood flat in a dry, climate-controlled environment to prevent warping. Do not stack heavy items on top of delicate plaster medallions or fragile glass. Adhering to the established principles of historical building restoration ensures you don’t accidentally throw away irreplaceable custom millwork that would cost thousands of dollars to replicate today.
Stabilize Antique Masonry and Foundations
The masonry in pre-1920s homes differs vastly from modern concrete and brickwork. Older homes typically utilized lime putty mortar rather than Portland cement.
-
Assess Lime Mortar: Lime mortar is highly breathable and flexible, but it can dissolve or turn to powder when exposed to massive amounts of water or extreme heat. Inspect all brickwork carefully. If the mortar is crumbling, the bricks will need to be carefully repointed using a matching lime-based mixture; using modern Portland cement will trap moisture and cause the antique bricks to spall and shatter.
-
Inspect Rooflines and Chimneys: You must conduct specific guidance on inspecting rooflines and executing structural chimney repairs immediately, as old brick chimneys are highly susceptible to collapse after seismic events, heavy winds, or intense heat from a blaze. A crumbling chimney is a massive liability that can crash through the roof and destroy the floors below.
Handle Hazardous Materials with Care
Older homes are a minefield of toxic building materials that become airborne when disturbed by a disaster.
-
Identify Asbestos: Assume that old linoleum floor tiles, acoustic ceiling textures, and pipe insulation contain asbestos until proven otherwise. Do not rip these materials out if they are damaged; they must be abated by licensed professionals.
-
Test for Lead Paint: Homes built before 1978 almost certainly contain lead paint. When old trim or plaster is crushed or burned, lead dust contaminates the property. Use EPA-approved lead testing swabs on painted surfaces before sanding, scraping, or tearing into walls to avoid poisoning yourself and your family.
Extracting Standing Moisture and Drying the Framing
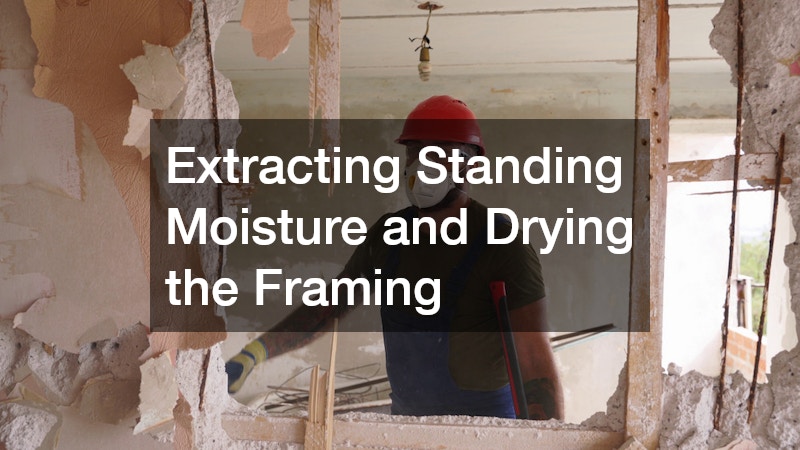
Water is the enemy of any home, but it is particularly devastating to older properties. The materials used in historical construction—such as old-growth timber, horsehair plaster, and traditional cast iron—react to moisture differently than modern drywall, plywood, and PVC. Drying out an older home is a delicate balancing act; dry it too slowly, and rot will set in. Dry it too quickly, and the sudden loss of moisture will cause irreversible warping and cracking in antique materials.
Initiate Rapid, Controlled Drying
The framing in older homes is often made from old-growth pine, oak, or fir. This wood is incredibly dense and highly resistant to rot, but it will still fail if left soaking wet.
-
Understand Wood Behavior: Old-growth woods dry much slower than modern, fast-growing pine. If you apply excessive heat to speed up the process, the exterior of the wood will shrink rapidly while the interior remains swollen, leading to severe cracking and structural failure.
-
Controlled Dehumidification: The goal is to lower the ambient humidity slowly and steadily. This requires specialized, high-capacity equipment. It is highly recommended to rely on the advanced equipment—like industrial desiccant dehumidifiers—that water restoration services use to save antique hardwood floors from cupping and crowning.
-
Monitor Moisture Content: Use pin and pinless moisture meters to check the deep core of massive timber beams. Surface dryness can be deceptive. The drying process must continue until the moisture content of the wood returns to its normal equilibrium, usually around 10 to 12 percent.
Save or Scrap: Evaluating Plaster vs. Drywall
Modern drywall acts like a sponge; once it gets wet, it loses its structural integrity and must be cut out and discarded. Traditional lath and plaster, however, can often be saved if treated correctly.
-
Assess Plaster Integrity: Check the “keys”—the plaster that squeezes through the wooden lath strips to hold the wall together. If the keys are intact and the plaster has not separated from the lath, the wall can potentially be saved.
-
Drill Weep Holes: To dry out the wall cavities without tearing down the plaster, carefully drill small weep holes along the baseboards. This allows trapped water to escape and permits forced air to circulate behind the walls.
-
Professional Assessment: Making the call on what to keep and what to gut is difficult. Coordinating with reputable water damage companies ensures the moisture levels in the wall cavities are accurately measured using non-invasive meters, preventing long-term structural rot that could silently destroy the house from the inside out years down the line.
Eradicating Smoke, Soot, and Odors from Antique Materials

If your older home has suffered a fire, the flames are only part of the problem. Smoke and soot are highly acidic and incredibly pervasive. They will coat every surface, corrode antique metal fixtures, and embed themselves deeply into the porous materials that define historical homes. Cleaning up after a fire requires specialized chemistry and a gentle touch, as aggressive scrubbing can permanently ruin vintage finishes.
Clean Unfinished Wood and Exposed Beams
Older homes frequently feature exposed timber beams, raw wood paneling, or delicate, unsealed finishes.
-
Never Use Water: The most important rule of soot removal is to never use water to clean soot off raw, unvarnished vintage wood. Water will dissolve the soot, turning it into an acidic dye that will sink deeply into the wood grain, permanently staining it black.
-
Use Chemical Dry Sponges: Instead of wet rags, rely on vulcanized rubber dry sponges. These sponges are designed to lift and trap soot particles without smearing them. Wipe in straight, overlapping lines, and switch to a new sponge as soon as the current one turns black.
-
HEPA Vacuuming: Before wiping any surface, use a vacuum equipped with a True HEPA filter to gently pull loose ash and soot from the intricate crevices of carved wood and fragile plaster medallions. Keep the nozzle slightly above the surface to avoid grinding the soot in.
-
Advanced Media Blasting: For heavy charring on robust materials, professional fire restoration companies often use media blasting, such as dry ice blasting or baking soda blasting, to safely strip soot from old masonry and thick timber without damaging the delicate substrate underneath.
Neutralize Deep-Seated Odors
The architecture of older homes makes them particularly susceptible to holding onto smoke odors. Features like balloon framing—where wall cavities run continuously from the basement to the attic without fire blocks—act like chimneys, drawing smoke into every hidden space in the house.
-
Understand the Odor Trap: Because older homes often lack modern insulation and vapor barriers, smoke particles embed themselves in the original sheathing, the attic joists, and deep within the subfloors. Surface cleaning will not eliminate these smells; as soon as the house warms up on a sunny day, the pores of the wood will open and release the trapped odor.
-
Deploy Advanced Odor Eradication: You cannot simply mask the smell of a house fire. To truly eliminate the scent, you must change the chemical composition of the smoke molecules. Knowing how fire restoration contractors deploy thermal fogging and ozone generators is crucial; these tools penetrate the very pores of the wood to neutralize smoke particles trapped deep within antique HVAC ducts, crawlspaces, and unsealed wall cavities, ensuring the home smells fresh and clean for the long term.
Identifying and Eliminating Hidden Fungal Threats
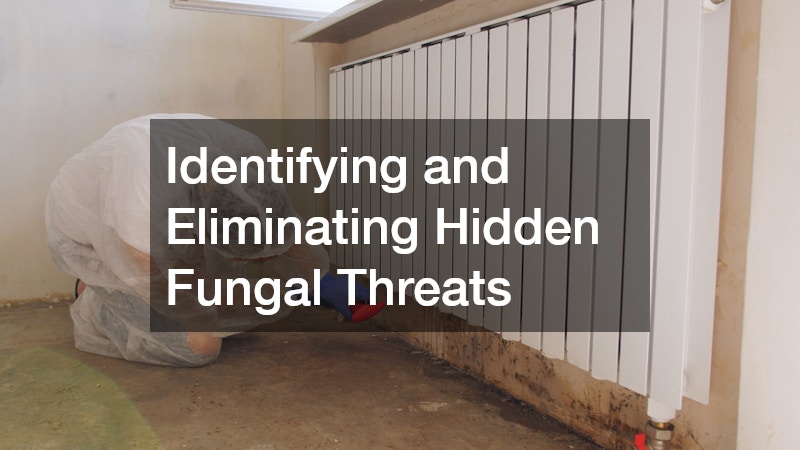
The combination of water intrusion and the organic materials abundant in older homes creates the perfect breeding ground for hazardous fungal growth. If a property remains wet for more than 48 hours, spore proliferation is almost guaranteed. In a heritage home, this threat is compounded by the fact that historical construction often features countless hidden voids, unventilated spaces, and dense organic matter that fungi thrive upon.
Target Hidden Moisture Pockets
You cannot eliminate a threat if you cannot find it. In modern homes, this process is relatively straightforward, but older properties require a much deeper investigation.
-
Investigate Crawlspaces and Basements: Antique homes often sit on dirt-floor crawlspaces or feature rubble-stone basements with terrible ventilation. These areas act as moisture traps, drawing dampness up into the floor joists and subfloors.
-
Look Behind Historical Features: Fungi love dark, stagnant environments. You must carefully check behind original wainscoting, beneath heavy clawfoot tubs, inside built-in cabinetry, and behind thick, traditional baseboards.
-
Track Airflow Paths: Older houses breathe differently than modern ones. Drafty floorboards and lack of modern sealants mean that spores generated in a damp basement can easily float up into the main living areas. Because of this complex airflow, investing in professional mold inspection services is critical for older homes where airborne spores can easily travel through outdated, unsealed floorboards and infect otherwise healthy parts of the structure.
Implement Safe Eradication Protocols
Once fungal growth is identified, it must be removed swiftly and safely. However, standard remediation techniques, like aggressively tearing out infected materials, run counter to the goals of historical preservation. The objective is to kill the hazard while saving the antique wood.
-
Set Up Containment Zones: Before any cleaning begins, the infected area must be isolated. Set up heavy plastic sheeting and use HEPA-filtered negative air machines to create negative pressure containment zones. This ensures that when the spores are disturbed during cleaning, they are trapped and filtered outside, rather than being blown into the rest of the house.
-
Gentle Abrasion and Scrubbing: Infected historical wood should not be immediately cut out. Instead, it should be carefully scrubbed using wire brushes, HEPA vacuums, and specialized sanding techniques to remove the surface roots without compromising the structural integrity of the beam or joist.
-
Apply Antimicrobial Treatments: Once the wood is physically cleaned, it must be chemically treated to prevent regrowth. Understanding the exact protocols mold removal services follow to scrub the air and apply deep-penetrating antimicrobial treatments to old-growth wood framing is vital. These professional-grade treatments sink into the dense grain of antique timber, providing a long-lasting barrier against future fungal threats without degrading the historical material.
Conclusion
Recovering from a catastrophic event is a harrowing experience, and when the property involved is a treasured piece of architectural history, the stakes feel exponentially higher. Navigating the aftermath of a severe storm, a devastating flood, or a structural fire requires a profound shift in perspective. You cannot treat a century-old Victorian or a historic Craftsman like a modern, mass-produced subdivision home. The journey requires an unwavering commitment to preservation, a meticulous approach to documentation, and the patience to execute careful, phased stabilization rather than aggressive demolition.
From those critical first hours of securing the perimeter and neutralizing immediate hazards, to the painstaking process of cataloging antique fixtures, every step must be intentional. Properly managing the moisture levels in dense, old-growth timber and delicate lath and plaster can mean the difference between saving the original interior and losing it to irreversible rot. Likewise, understanding the intricate chemistry involved in extracting acidic soot and neutralizing deeply embedded odors is what allows a heritage property to truly breathe again.
While the devastation of a disaster is undeniable, it is important to remember the inherent resilience of these aging structures. Older homes were built with a level of craftsmanship, density, and enduring quality that is rarely replicated today. They have stood for generations because they were constructed to last. By moving deliberately, prioritizing the salvaging of original materials, and executing precise, targeted rehabilitation strategies, you are not just repairing a building—you are acting as a steward for a piece of history.
Start preparing today by creating a disaster-readiness contact list, documenting your home’s current architectural state through photos and videos, and thoroughly reviewing your insurance policies to ensure they specifically cover heritage and antique construction values. With careful planning, expert guidance, and a deep respect for the past, your beloved historic home can survive this chapter and be beautifully restored for generations to come.